I am sooo in love with wall stencils! I have been eyeballing them on various sites for quite awhile now just waiting for the time I had a chance to use them in my home. For me, they are the greatest thing since sliced bread because whenever you get ready for a new look, you can just paint over it! I purchased two stencils from Cutting Edge Stencils and one from Etsy. This one I'm showcasing below is from Etsy and I decided to use in my kitchen where my banquette will be.
Let me warn you, this is a super time consuming project but the outcome is well worth it! I started this around 7pm-ish (while cooking dinner in between) and finished up at 3am this morning! The wall was already painted so I decided to stick with that as the base. I purchased a quart of paint in a slightly darker shade of green (high gloss). I gathered my tools (4" foam roller brush, Elmer's spray glue, and paint) and got busy!
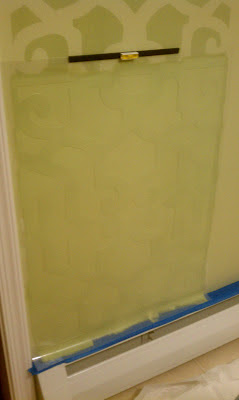
The key is to use the spray glue to stick the stencil to the wall. (Be sure to put an old sheet or drop cloth under area where spray paint will be... it can get really tacky on the floor or wherever it lands and is no fun to clean off stuff). Also its smart to purchase a stencil level from Cutting Edge Stencils (http://www.cuttingedgestencils.com/stencil-supplies.html). Once you go over your stencil once or twice...let it dry for a few minutes then pull it off the wall. Dont pull it off too soon because your edges may not be as clean. Once you pull it off...let it sit for a few minutes then start again.
Here is the kitchen wall BEFORE (bad lighting):
Check out the progression:
The corners can get tricky... you have to carefully fold stencil in corners and still try to keep it straight... check out the picture (forgive me for the bad lighting...I took the pics on my phone)
Almost finish.....
ALL DONE!!!


Awesome job!
ReplyDeleteMrs. Delightful
www.ourdelightfulhome.blogspot.com
Thank you!!
ReplyDeleteVery nice! Love seeing your house projects. So talented.
ReplyDeleteLove it...good to see the family home coming together!
ReplyDelete