 Today's DIY Project is my card box. Ive come across tons of beautiful card boxes ranging from $30 to $150. The picture to the left was my original inspiration photo. My initial plan was to recreate that card box (which retails for $125). Butttt, I decided to keep it pretty simple and do a more basic one. Plus it was really super hard to find the boxes needed to recreate it.
Supplies needed: Box, scissors, fabric, ribbon, spray glue
Cost: Box $9.99 at Ikea, other supplies I already had
Time: 30 min
Im not completely satisfied with the card box yet... I think Im going to add a bow or something at top. I feel its missing something but we'll see what I have time to do. Nevertheless, here's how I did my card box for now:
1. Get box and cut slit in the lid. I used an X-Acto to cut it but a box cutter would work too.
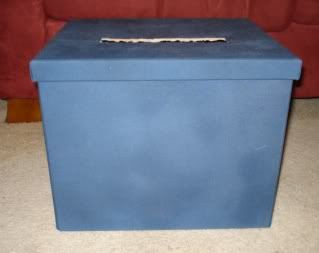
2. Use spray glue to glue your fabric of choice to the bottom half of the box
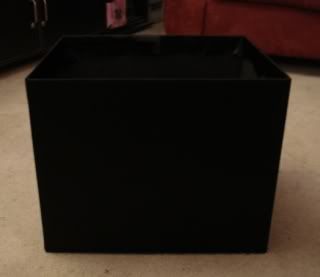
3. Time to cover your lid
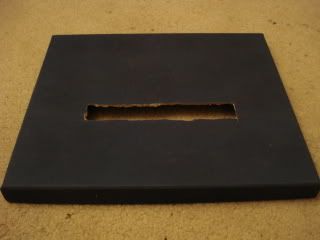
4. Use fabric glue to cover lid. Make sure you cut slits in fabric so you can wrap around the open slot.
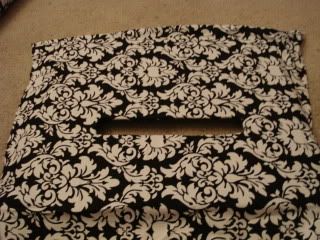
5. Finished covering lid & bottom of box
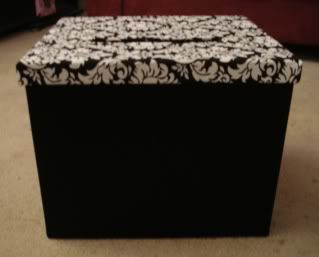
6. Add some ribbon and your card sign
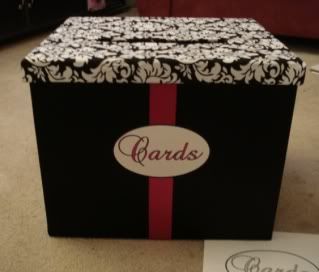
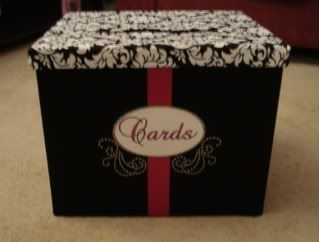
7. This is the finished product for now but again I think I may do something a little different! I will update if I make any changes!




Good Job!!!! Looks great.
ReplyDeleteNneka
ReplyDeleteOMG. Courtney sent me a link to your blog and now I check it weekly for ideas for my wedding. Wow, you really are talented! I wish you were a wedding planner so that i could hire you.
Everything looks awesome!
Thanks yall! ;)
ReplyDeleteThis looks great...very professional!
ReplyDelete